
the wax room

rubber mold

brushing in the wax

build it up
messy process
trim flush with mold

registration marks
sprues and gates
ready to demold

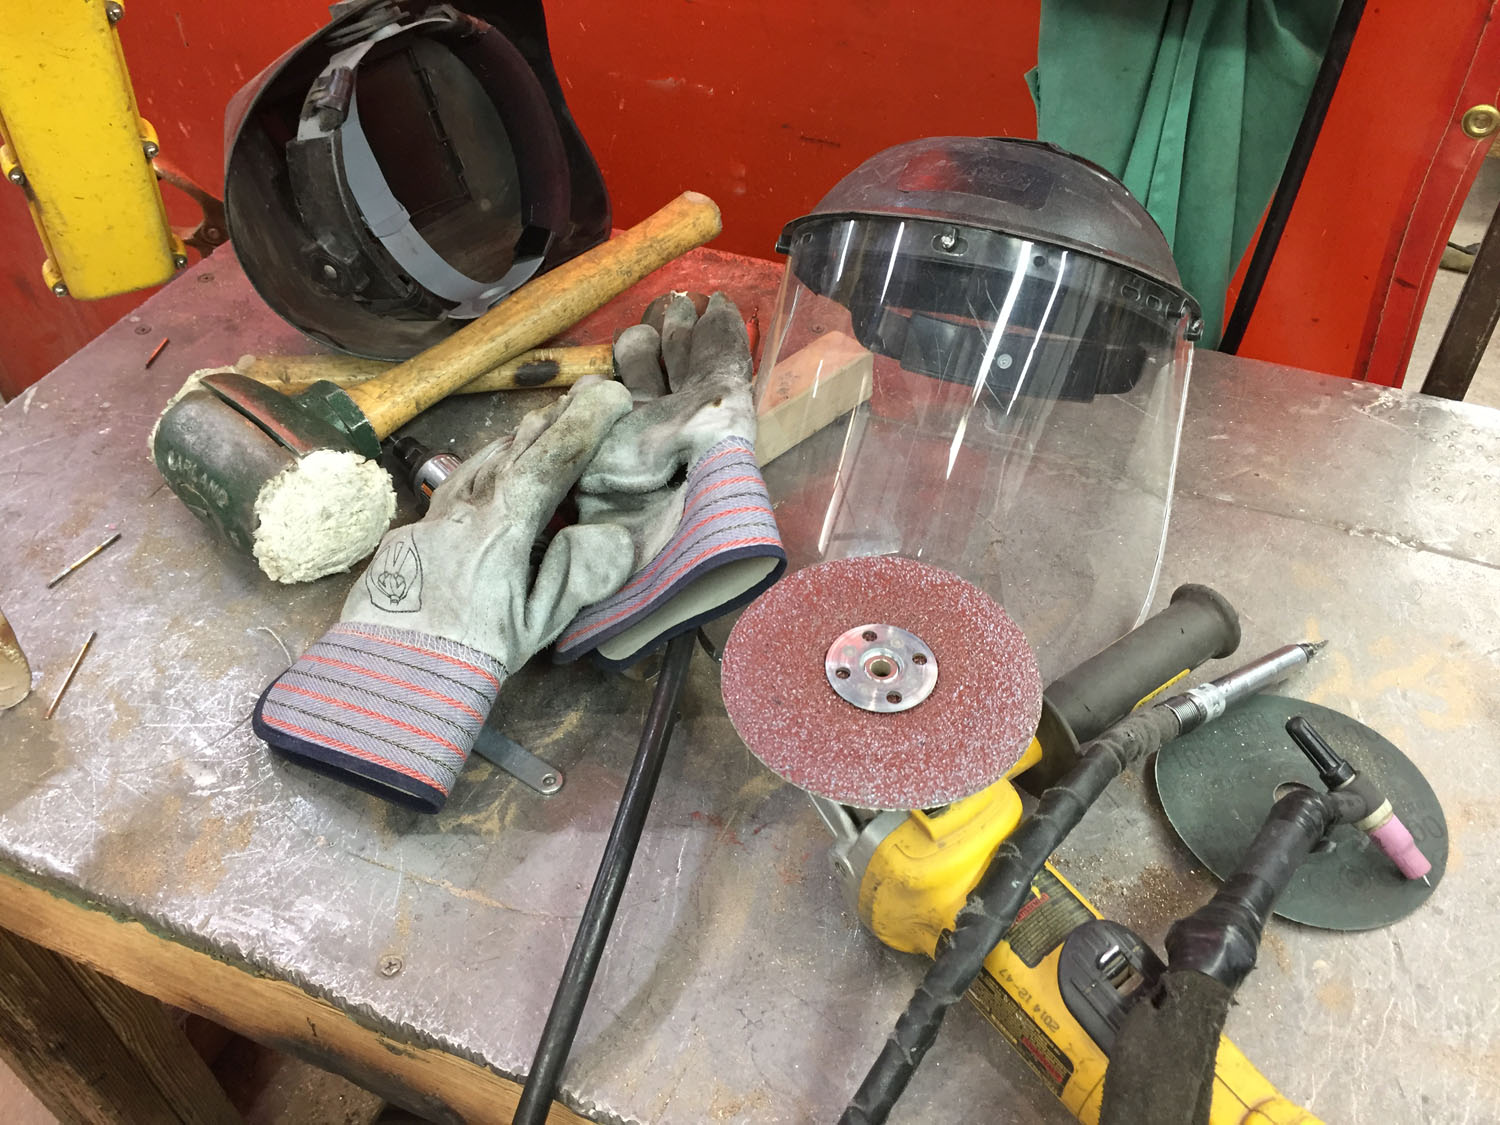
chasing the wax

fussy bits

shrinkage

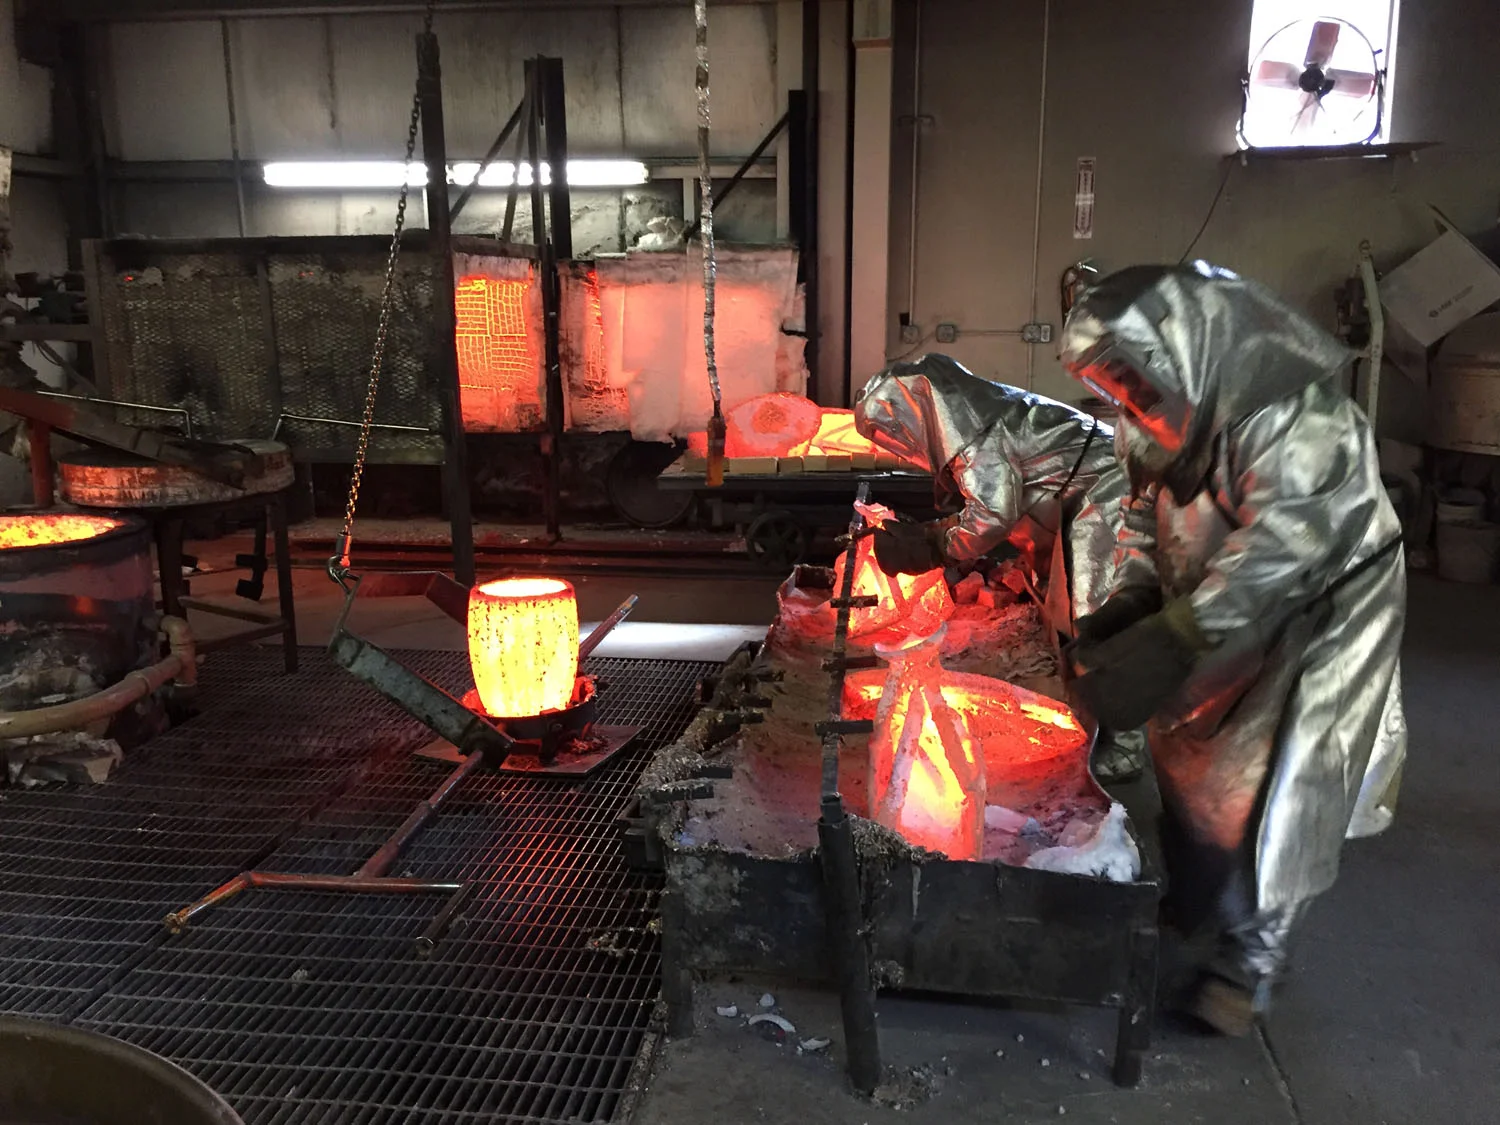
dip


the wax roomThe clean mold is wheeled into the wax room. The microcrystalline wax is heated to two different temperatures in the vats to the left. The hotter side is more fluid.
rubber moldThis is a close up of a portion of the rubber mold for the Alphabet Chair. It has to be stapled together between pours to line it up properly. Even the best molds suffer over time. The seam will be carefully resculpted in the wax, prior to casting.
brushing in the waxUsing the hotter wax on the first coat, the wax is brushed onto the warmed surface of the mold.
build it upGravity is a bear, but the wax can be built up carefully with the slightly cooler wax. You have to be mindful of not letting it cool too much between layers, though, as the wax can shear in layers when it's cool.
messy process...this is very time consuming, as the verticals run and drip. The valleys are easier to build.
trim flush with moldWith a heat gun, the wax is warmed and scraped back to the level of the mold.
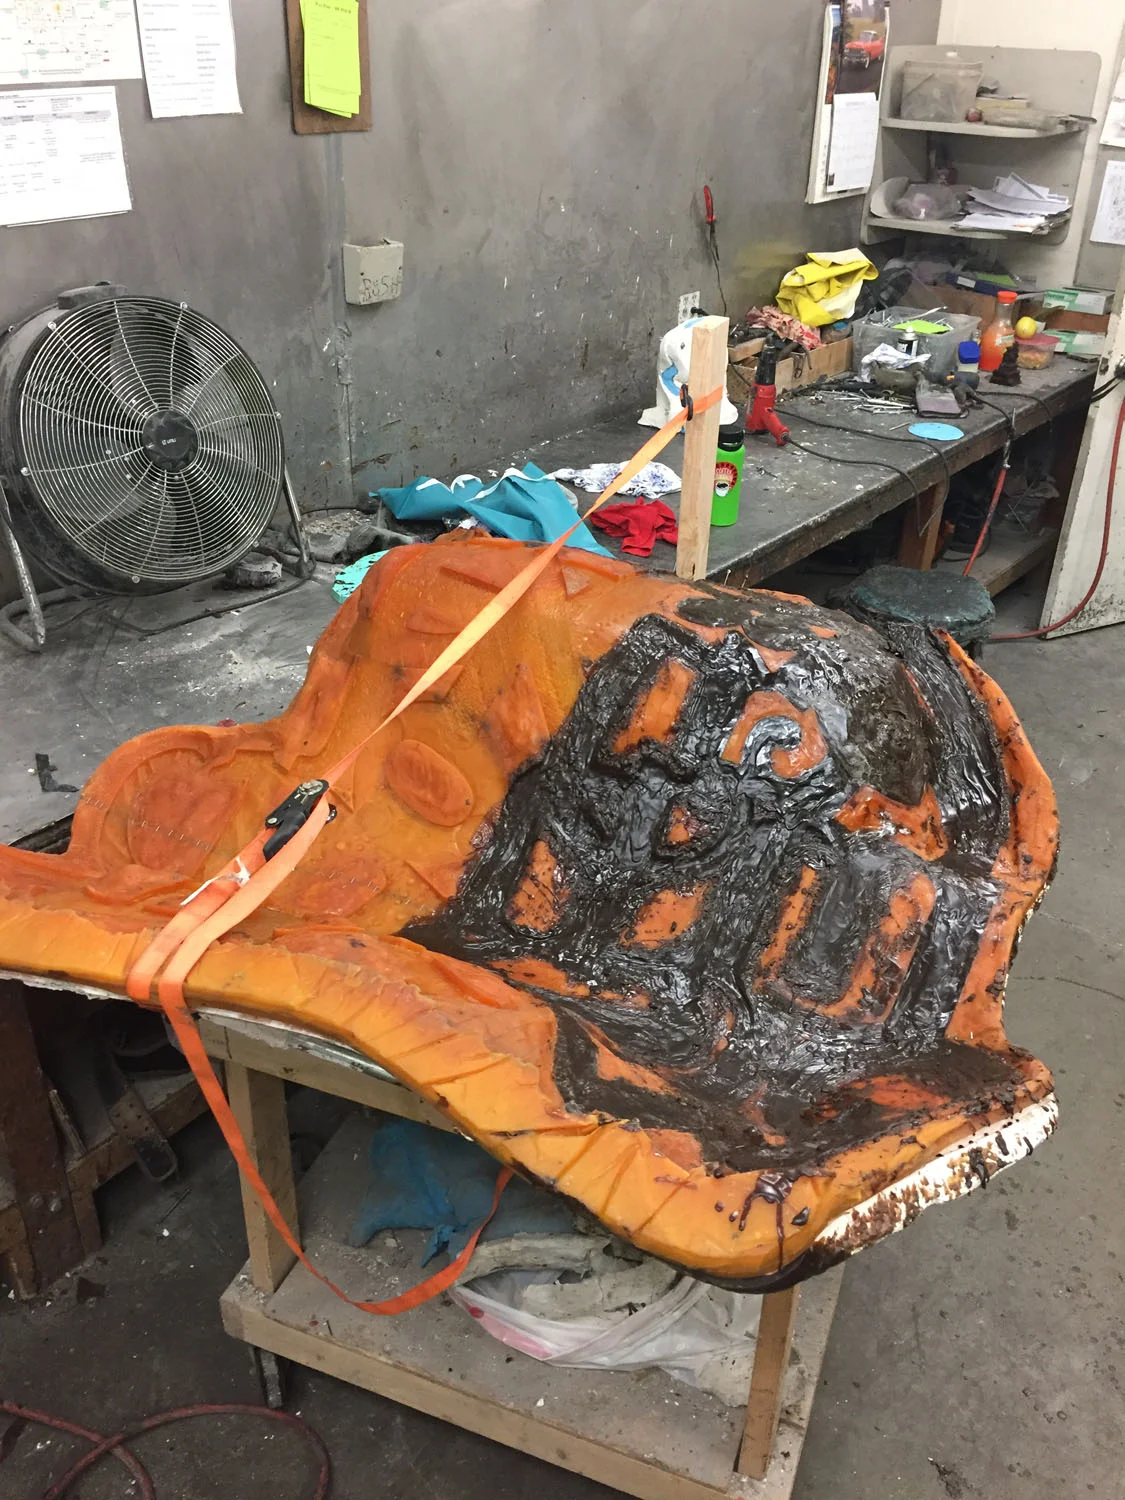
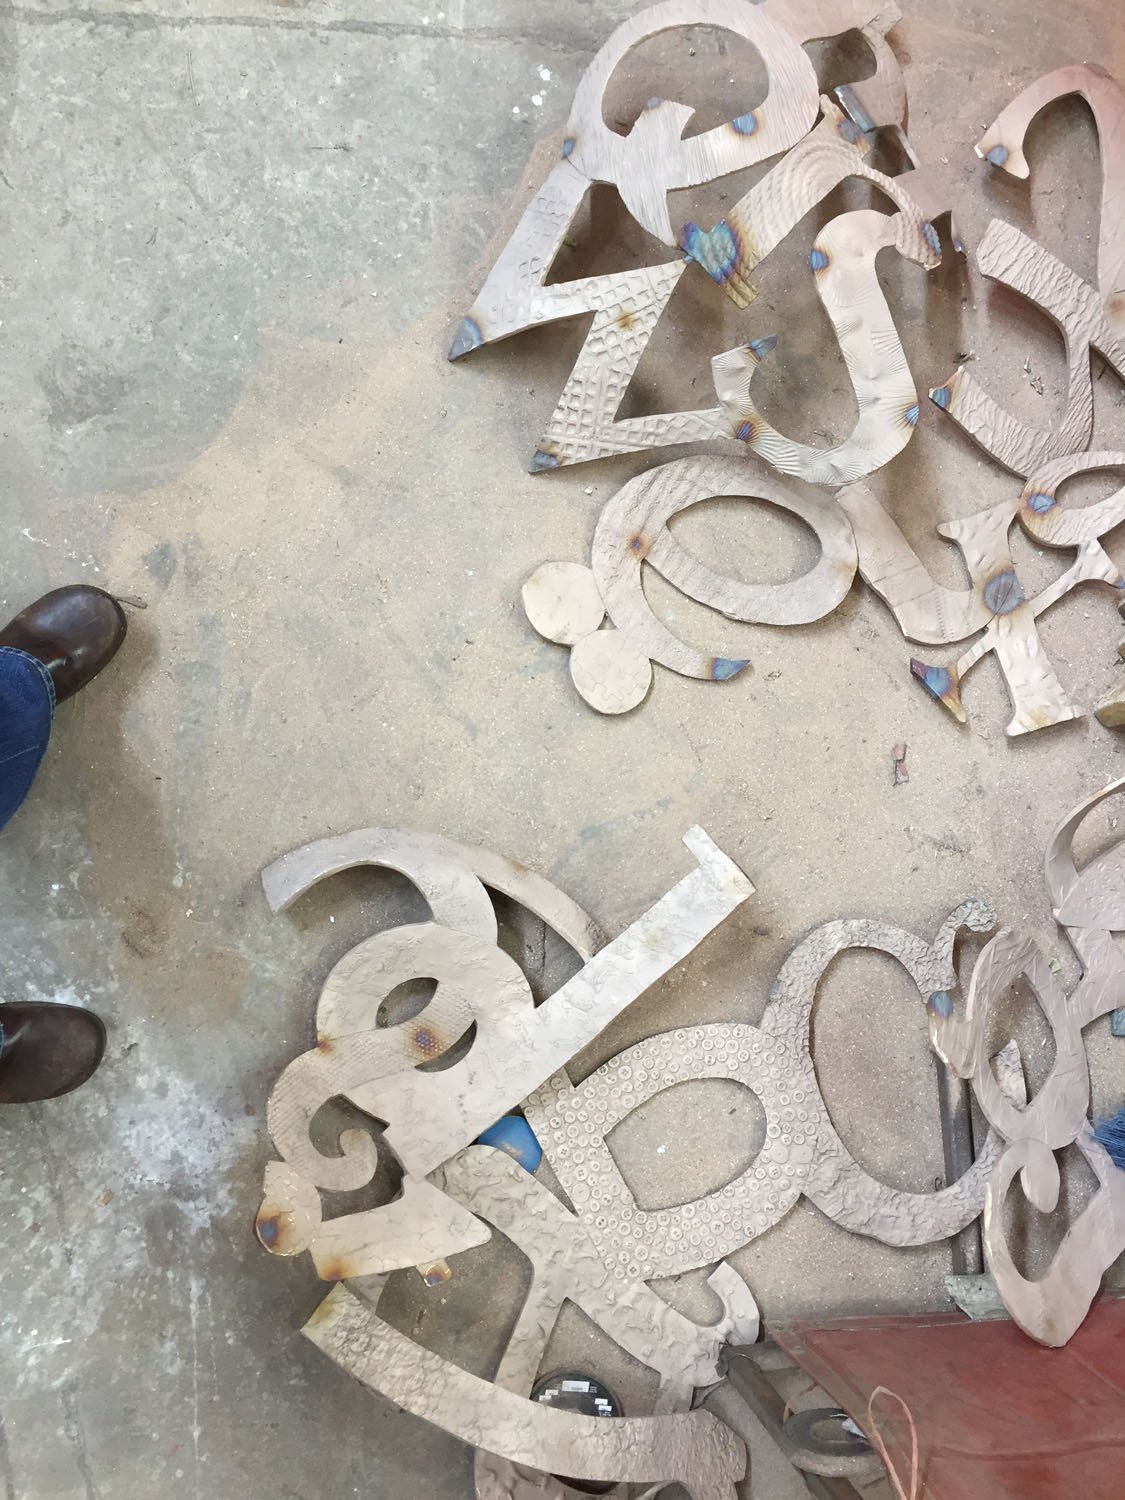
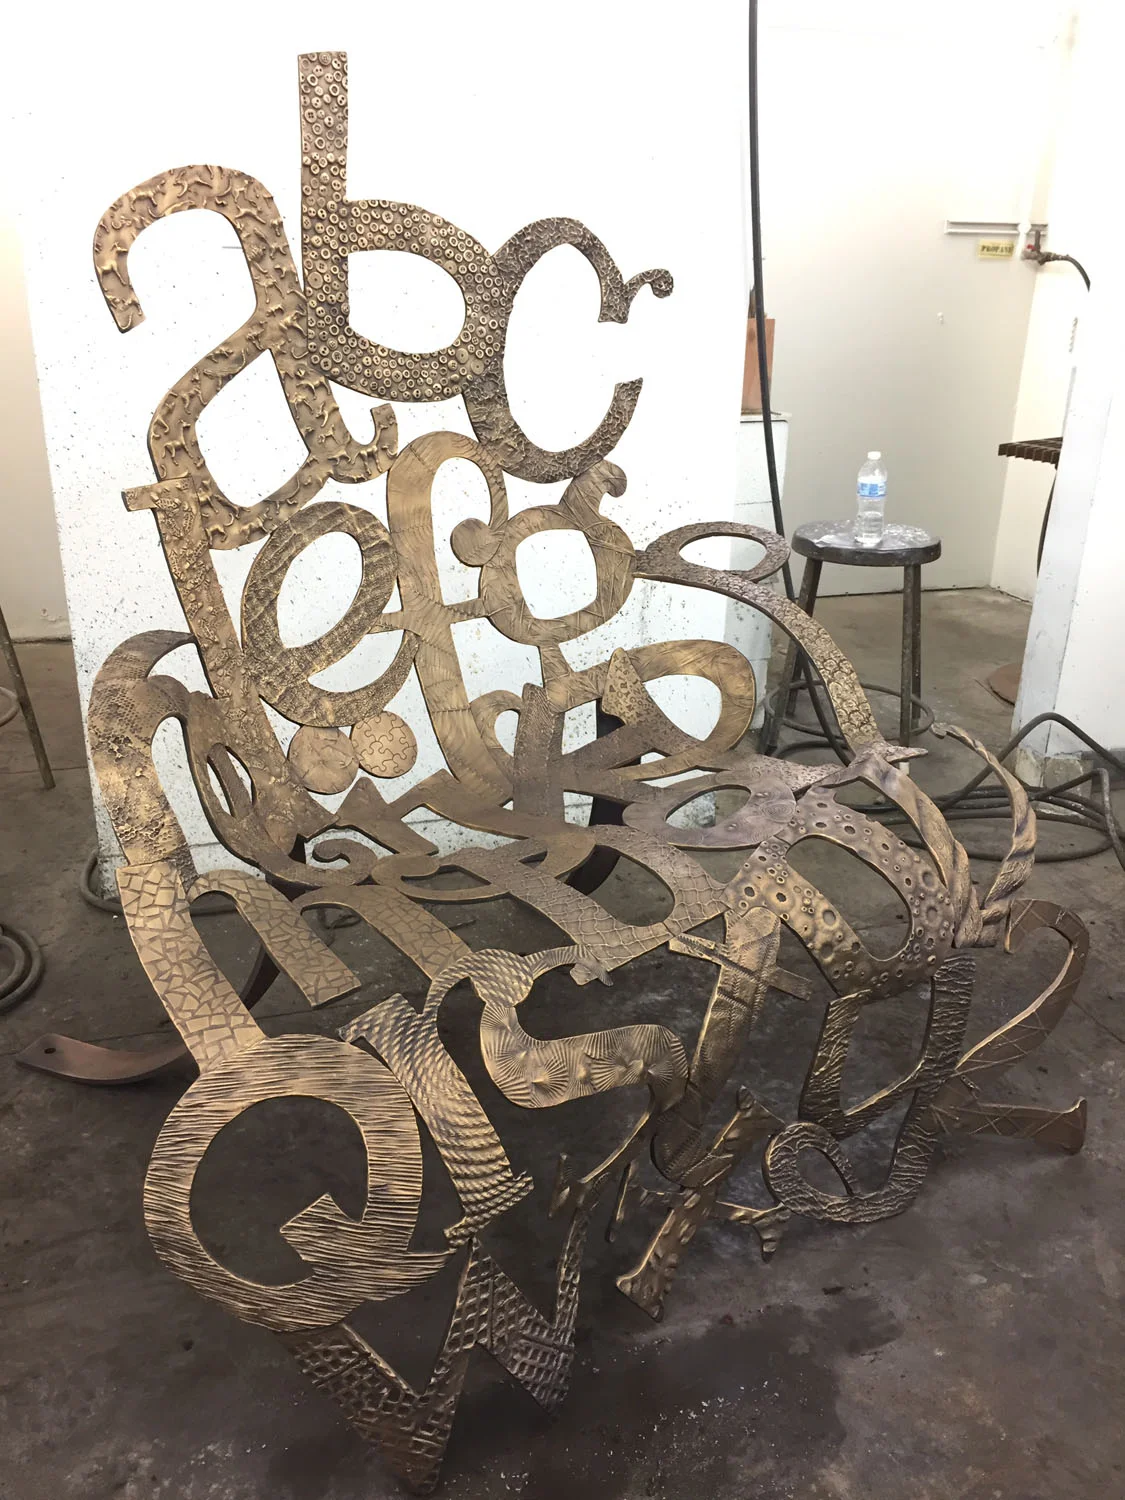
registration marksThe Chair is cast in seven pieces. The main lines are where the the wax is cut, the crossing lines are used as a guide when welding the bronze sections back together.
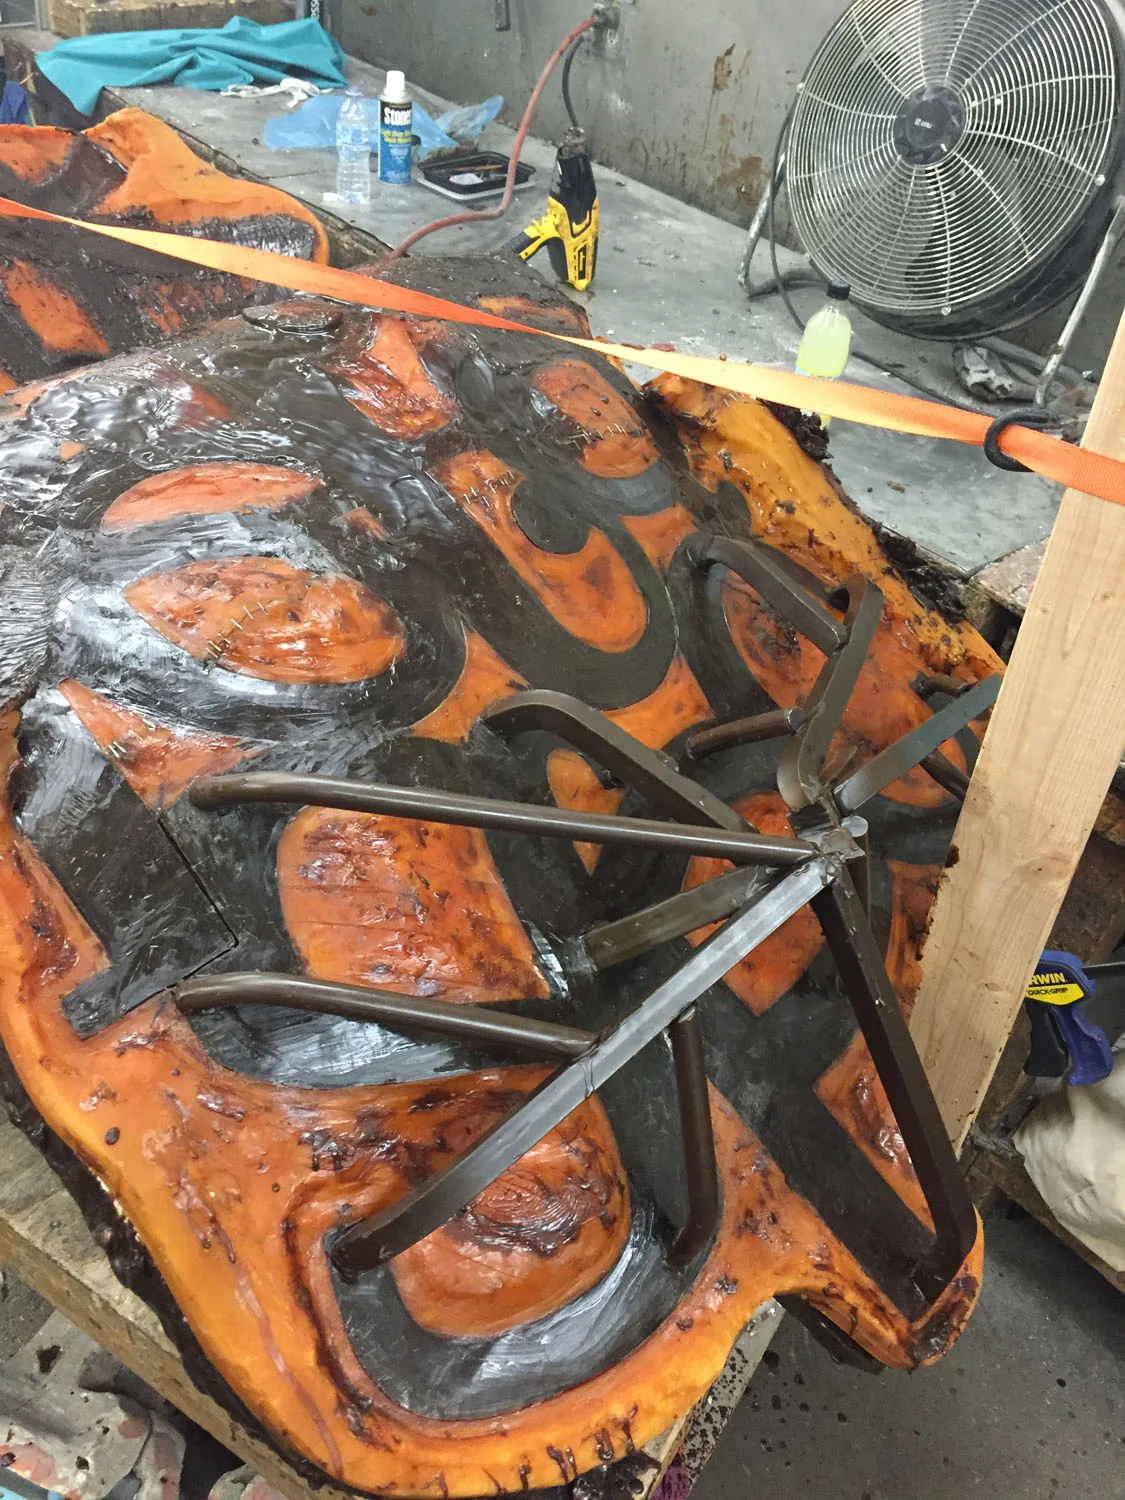
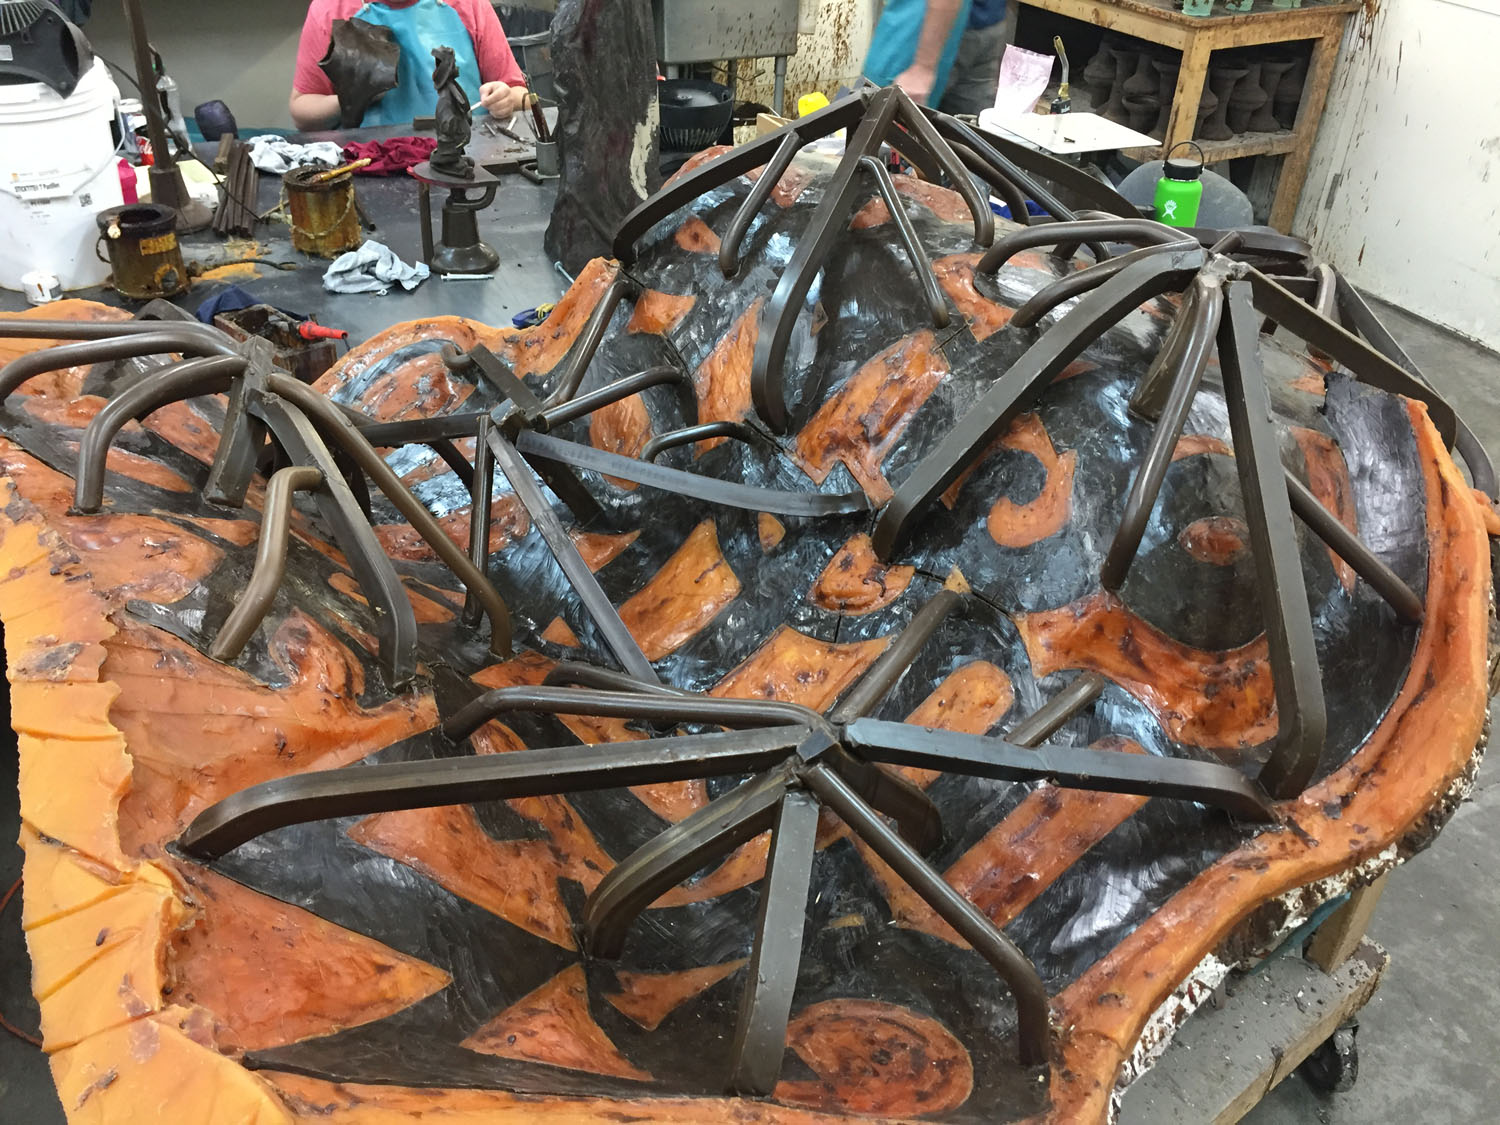
sprues and gatesThe ABC section of the Chair is sprued and gated. These are the main and secondary channels that the molten bronze with ultimately flow through during casting.
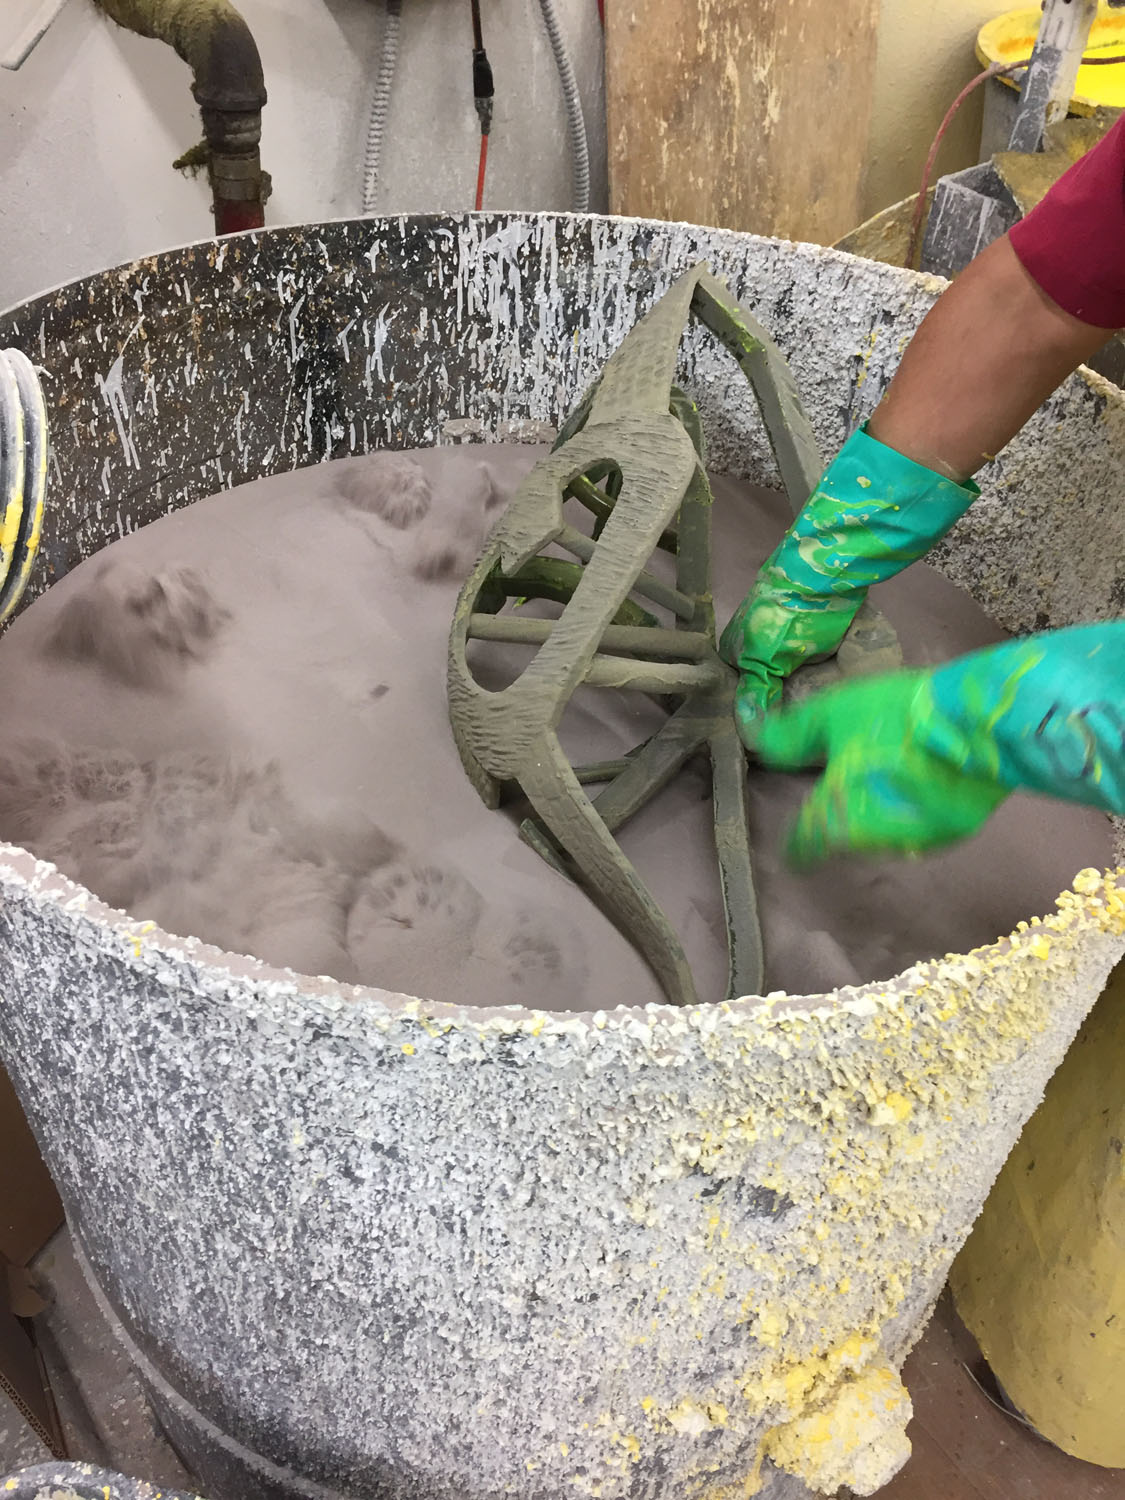
ready to demoldThe waxes have been cut into their sections and have been fully sprued up. Next comes the tricky part - demolding. I'll spare you images and audio of this. Sometimes things snap dramatically and need repairing.
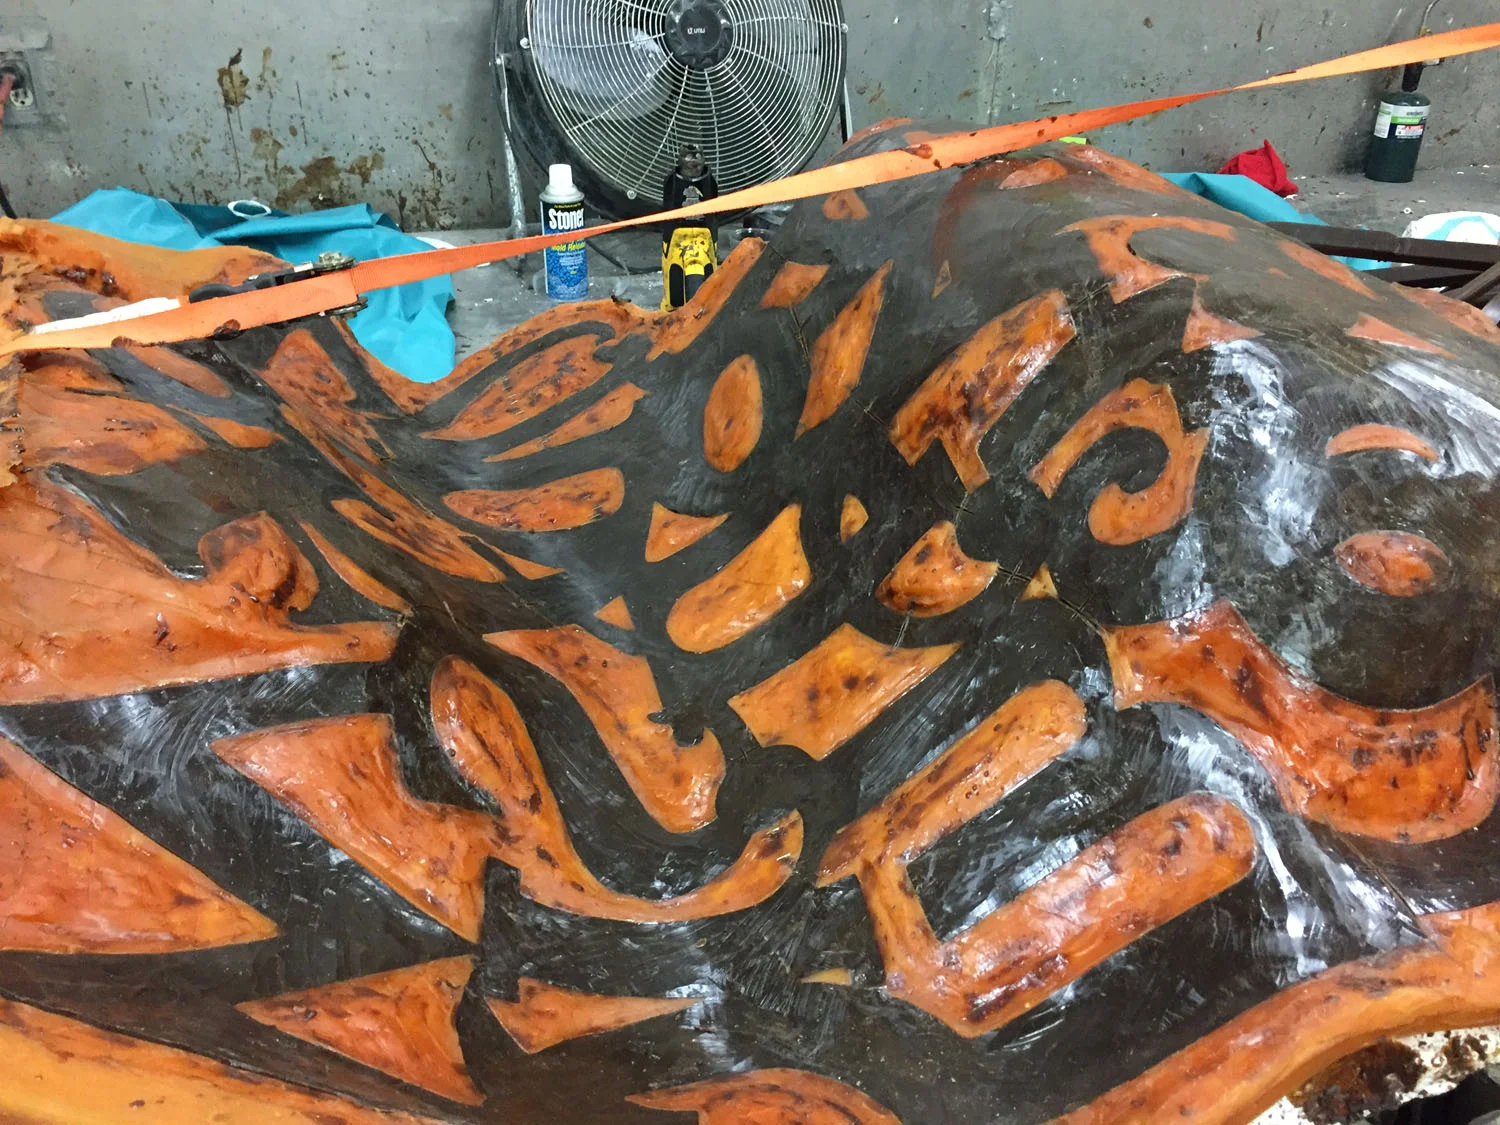
chasing the waxNow each section is carefully checked for flaws, which there are plenty. These bubbles, drips, nicks and bruises are painstakingly resculpted. It's always easier to repair a wax than it is to repair bronze.
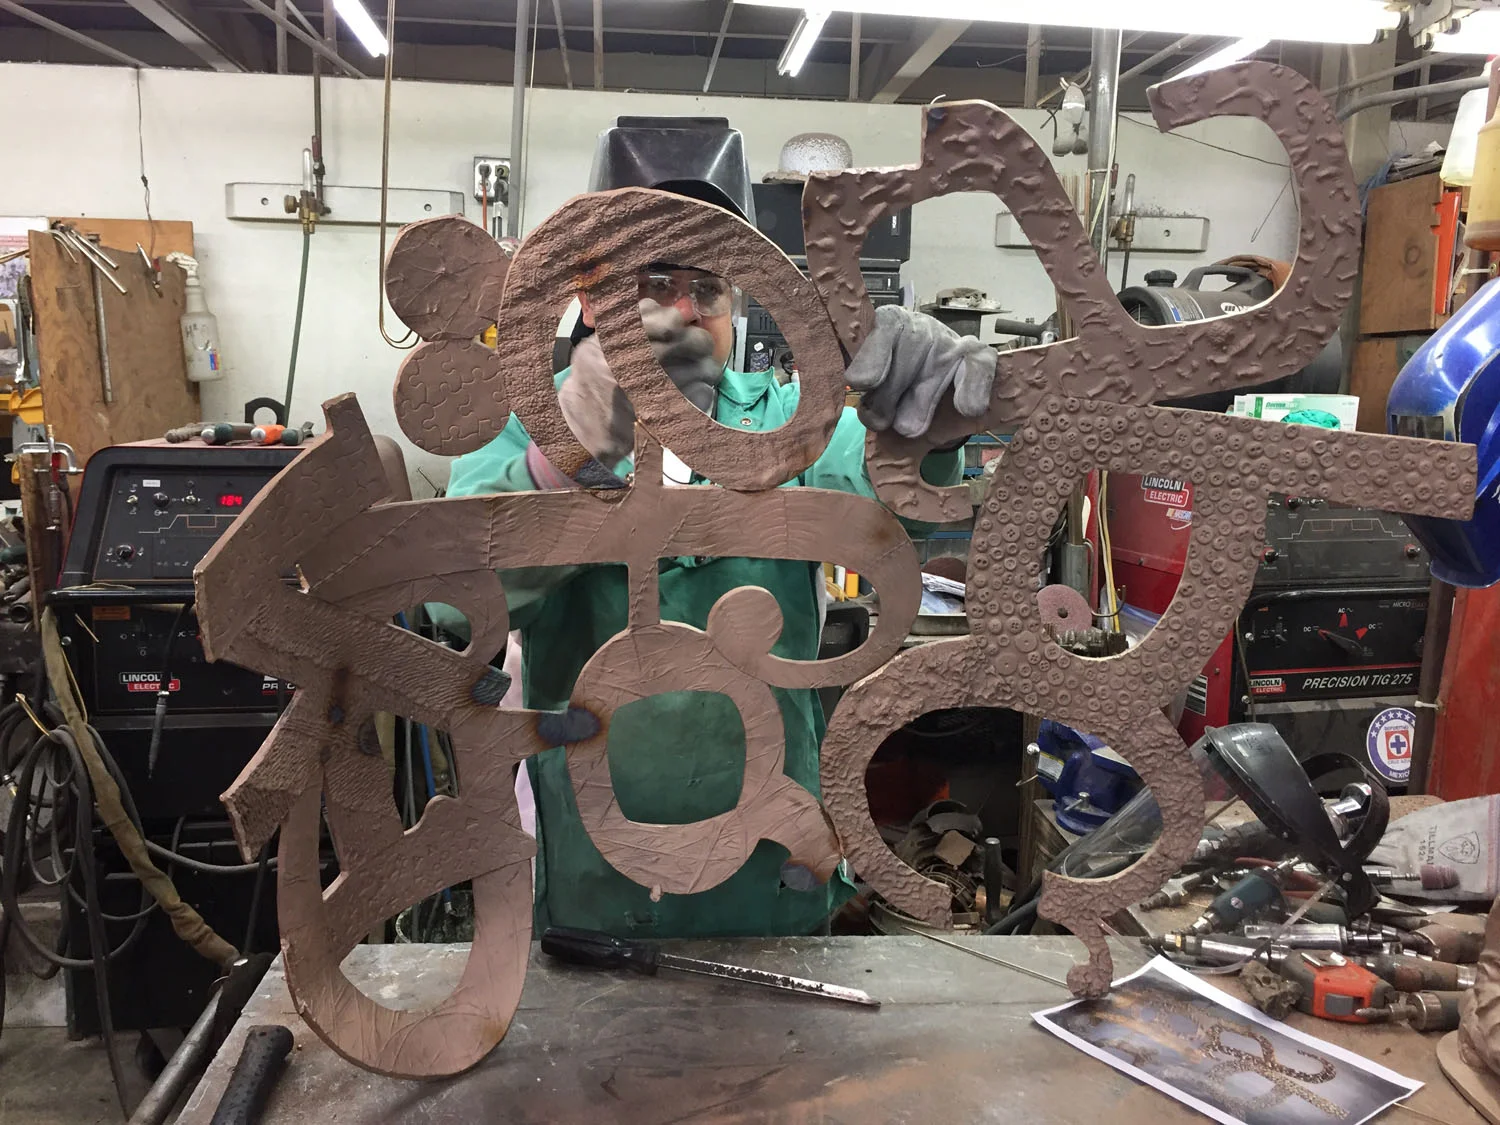
fussy bitsThis section of the Chair always needs attention. The F (ferns) are dead center in the middle of the sculpture, and when I made the original, I couldn't reach that spot without kneeling on other finished areas of the sculpture. It was a good lesson in planning ahead.
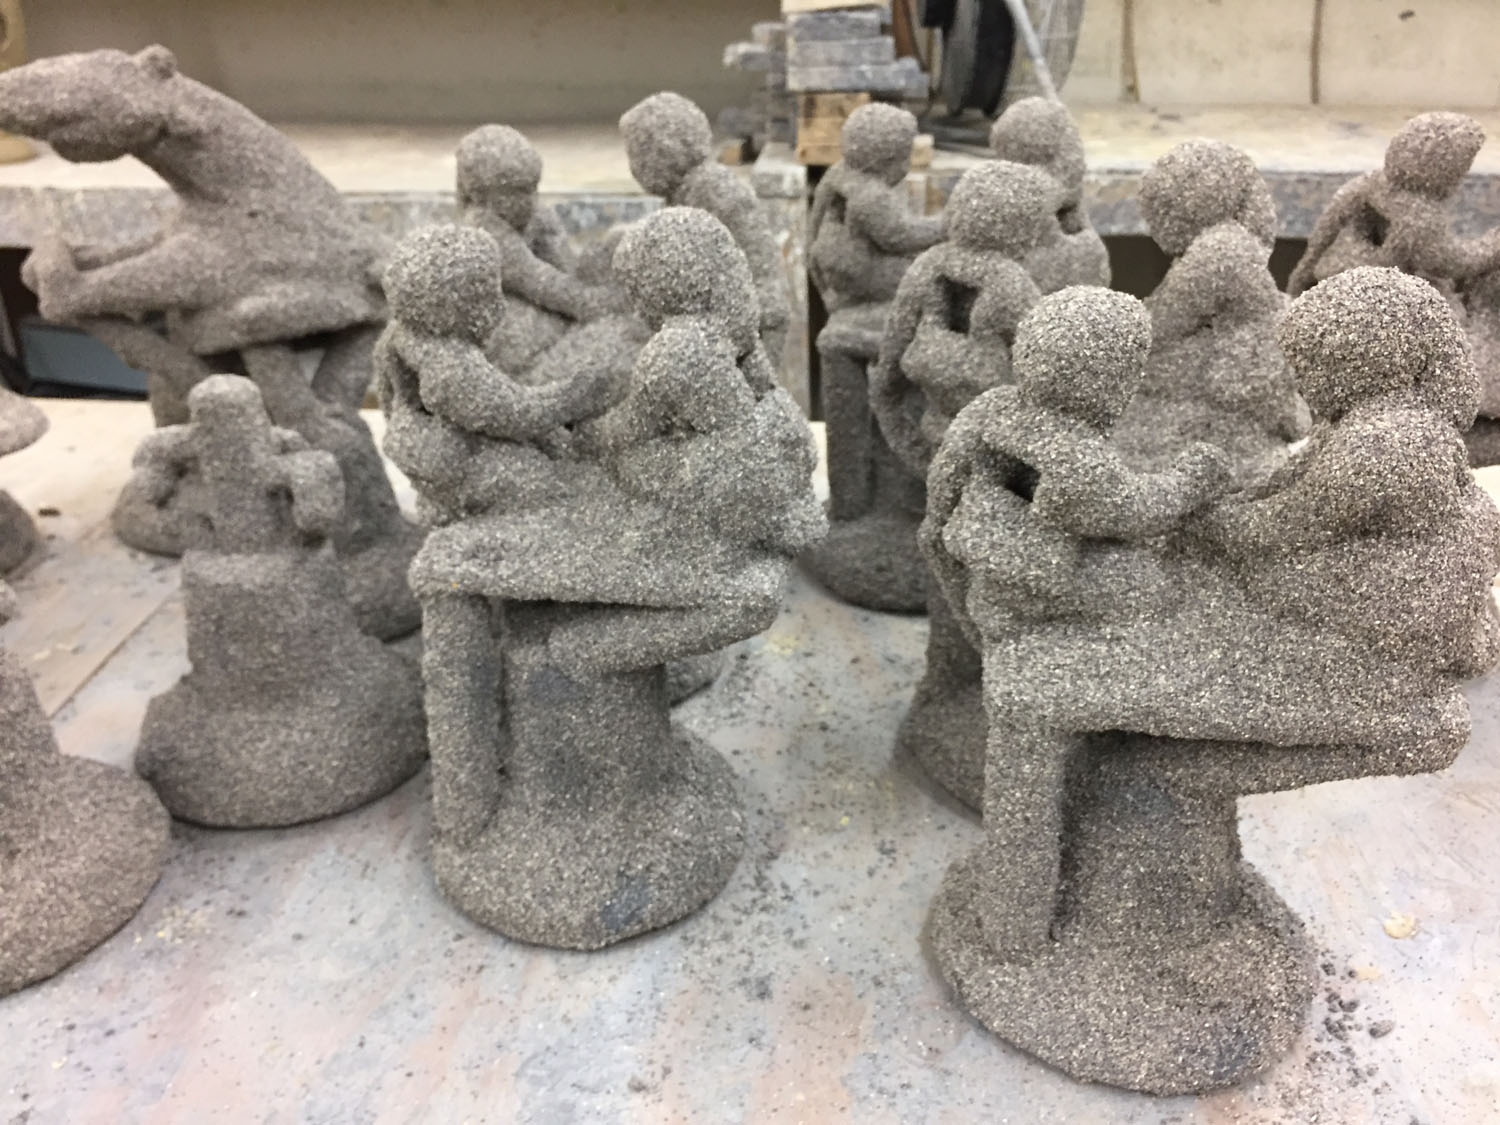
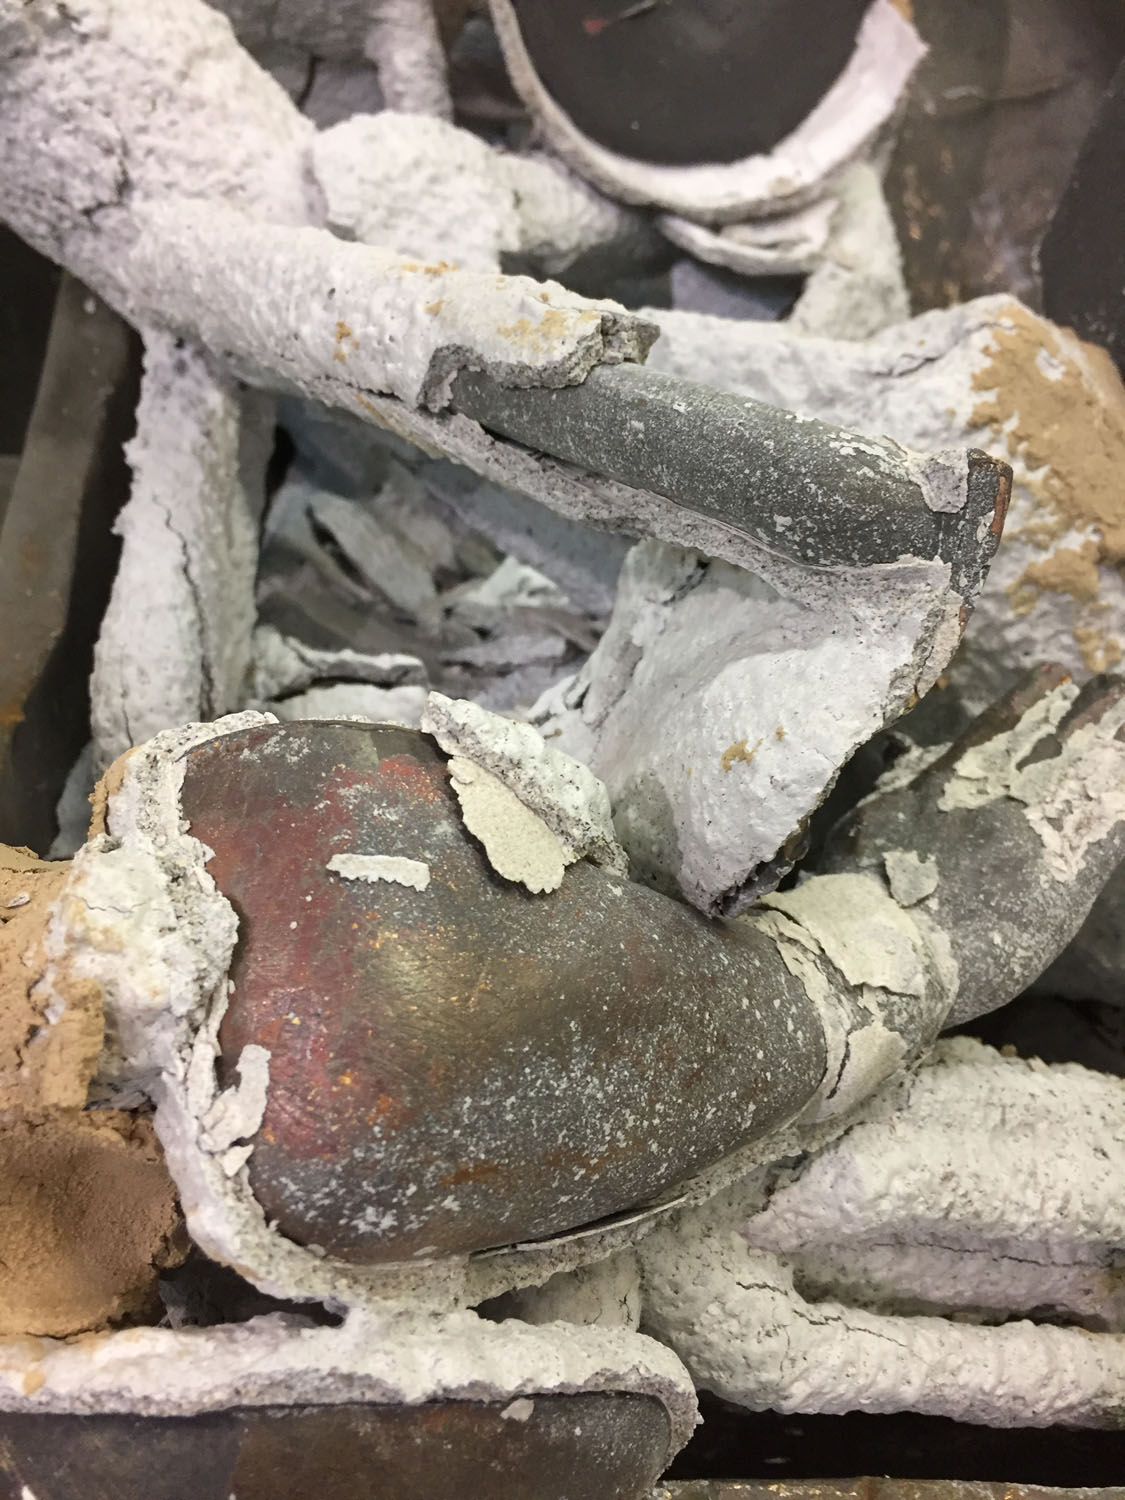
shrinkageHere's a good photo that shows the shrinkage that occurs in the wax stage. There's a 3-5% shrinkage in all between the original size of the sculpture and the final bronze casting.
dip
info
/
1
2
3
4
5
6
7
8
9
10
11
12
13
14
15
16
17
18
19
20
21
22
23
24
25
26
27
28
29
30
31
32
33
34
35
36
37
38
39
40
41
42
43
44
45
46
47
48
49
50
51
52
53
54
55
56
57
·
·
·
·
·
·
·
·
·
·
·
·
·
·
·
·
·
·
·
·
·
·
·
·
·
·
·
·
·
·
·
·
·
·
·
·
·
·
·
·
·
·
·
·
·
·
·
·
·
·
·
·
·
·
·
·
·